1. With your digi open in Paint.Net, click on FILE and click OPEN. Find your digi paper that you want to piece your digi with and open it.
2. Optional: You might want to resize your paper so the pattern will fit nice onto your digi. I know that my digi is 1600 pixels tall, so I resized my digi paper to 1600 pixels (go up to IMAGE and click RESIZE)
3. With the MOVE tool selected, click on the paper (it will put a running box around the page to let you know it's selected)
4. Click the COPY icon
5. On your LAYERS window, click on the layer that contains your digi
6. Make a new layer by clicking on the "New Layer" icon (bottom left) of the layers window OR you can go up to LAYERS up at the very top and select ADD NEW LAYER
7. Click PASTE and KEEP CANVAS SIZE
8. On your LAYERS window, click the down arrow to move the paper layer DOWN
9. Click DESELECT icon
10. Click on the DIGI LAYER on your layers window, and with the MAGIC WAND tool selected, ***MAKE SURE THE FLOOD MODE IS SET TO GLOBAL*** then click on a solid part of your digi (you should see the black digi highlighted with running dashes to show it's selected)
11. Now click on the PAPER LAYER in your LAYERS window
12. Go up to the top and click on IMAGE and then click CROP TO SELECTION
13. Now UNCHECK the top black digi layer in your layers window and WHA-LA! You have a nice paper-pieced digi. :)
There's lots more you can do in Photoshop with styles --- adding glitter overlays and shadows etc. that you can't really do in Paint.Net. But this program does make it easy to recolor and do some fun things.
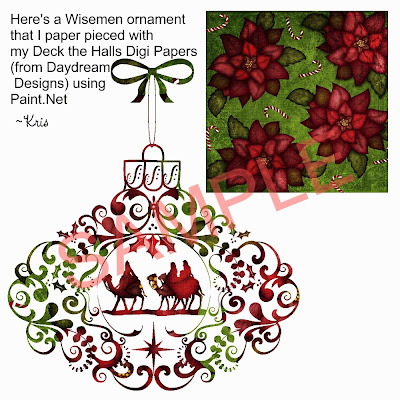
Here's a sample of paper pieced using a Christmas Digi Paper from "Deck the Halls" paper pack (Daydream Designs)
Here's a sample of my glitter-overlayed ornaments:
Happy Creating!!
~Kris


No comments:
Post a Comment